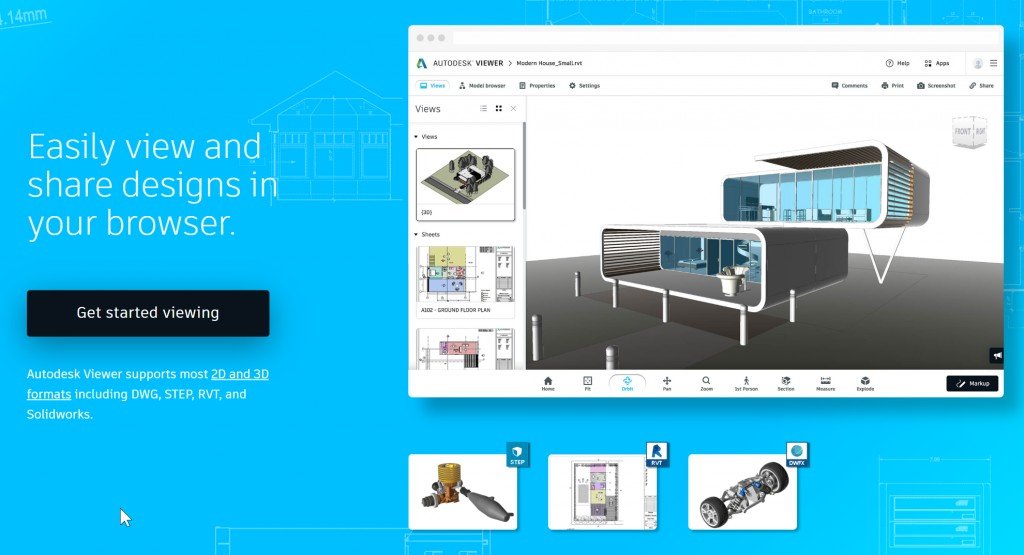
Autodesk Viewer has some great free features. Let’s Look at how to use some of them.

Preparation in Revit
We’ll use a sample RVT provided by Enscape.
Click Collaborate>Publish Settings

Choose what Sheets and Views to publish

Using the Viewer Web App
Go to https://viewer.autodesk.com/designviews and log in to your Autodesk account. Drag your RVT to the Web page.

That dialog is presumably for associated files to add:


Wait for processing… Then see the data.

You can navigate the 3D view with the mouse. Double-mouse-click to center view.
Get link to share by clicking on the link icon

https://autode.sk/2Kax0V5 in this case.
Measuring


Hit Escape and it all goes away.
2D Views
Published Views will be visible:

First Person Viewing
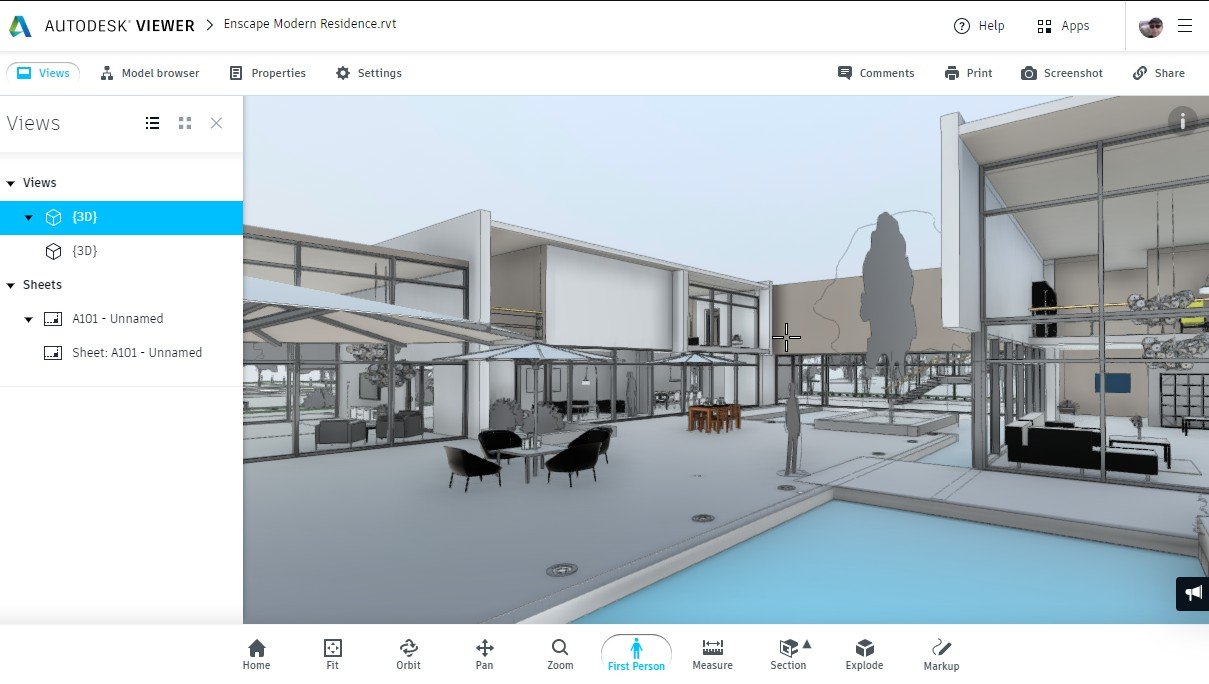
Click the icon and a 3D view changes to perspective

You can use WASD keys and the mouse to move around. Double-mouse-click to teleport. Example:

Markups
Any logged-in user can make markups

Reload the viewer to see other’s markups.

The app also sends an email when others make a markup.

Comments
With the Comments button on, a continual screenshot is shown on the right.

Type something and click Post.

There is a Resolved checkbox which filters what markups and comments appear.

There is an Export button but it only seems to make a PDF of Markups and Comments of those made under my current username.

As a workaround, I’d just take screenshots and put them in a Google Doc or something. I recommend Greenshot to take screenshots.
Properties
There doesn’t seem to be a way to select elements and see their properties in this Web app. Thus this has no function in 2D:

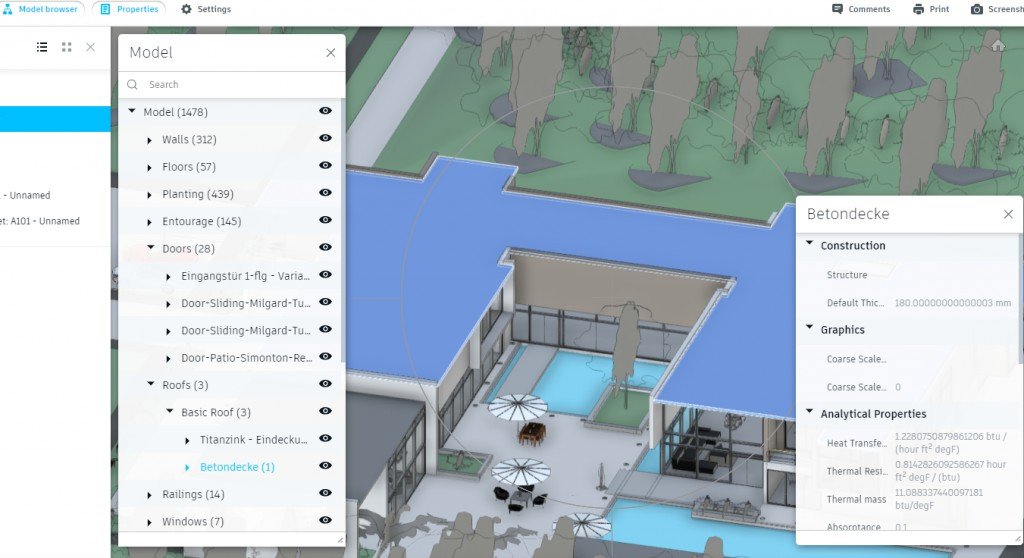
In 3D, there is a Model browser button and some properties show up when clicked. Again, I don’t see a way to select an element and see its properties.

Caveats
There does not seem to be versioning in this Web app. Delete the old files added and upload new ones when changed. This certainly limits the usefulness of Markups in an active Revit project.

Your email address will not be published. Required fields are marked *