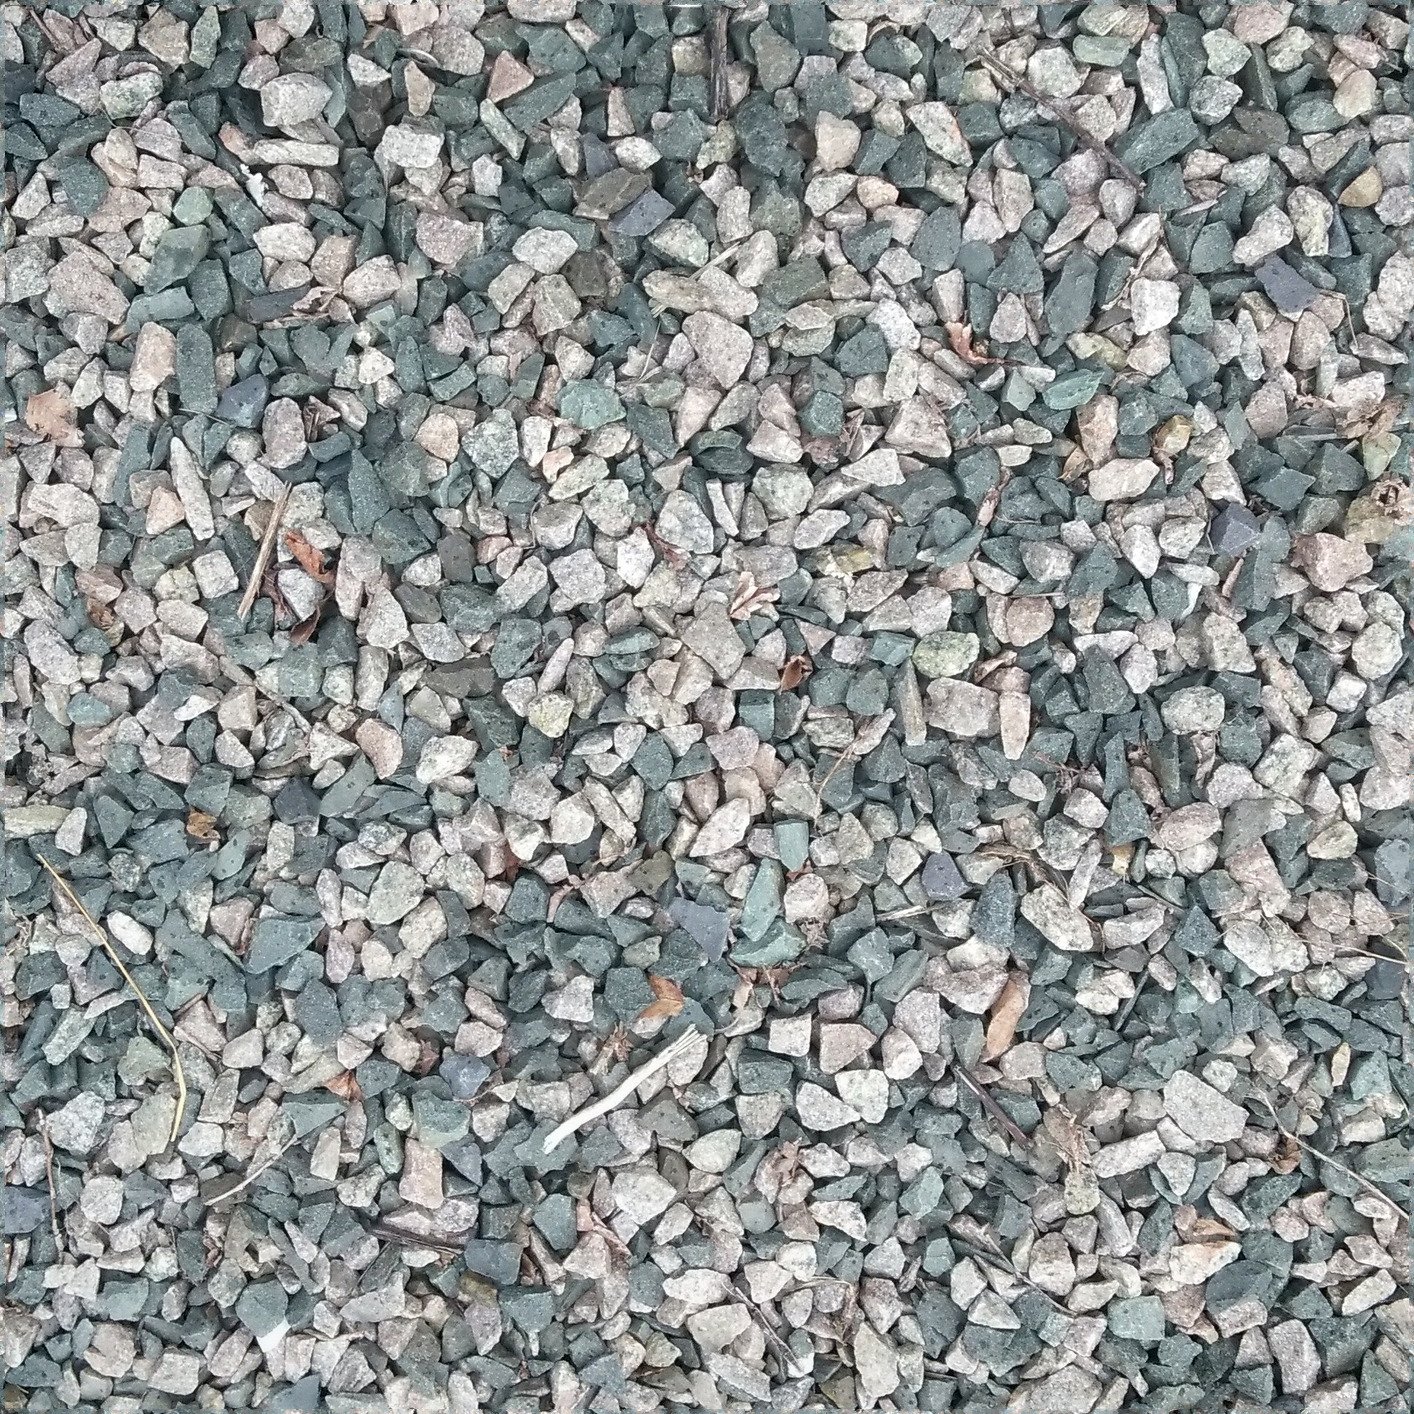
Take a picture
Crop picture. In this case, I chose a 1 x 1 ratio. (I like to use FastStone Image Viewer.)

Save in a folder

In this example we will start with “Dirt – Dark Brown” OOTB (non-advanced asset Revit 2019, regular asset Revit 2008-2018).

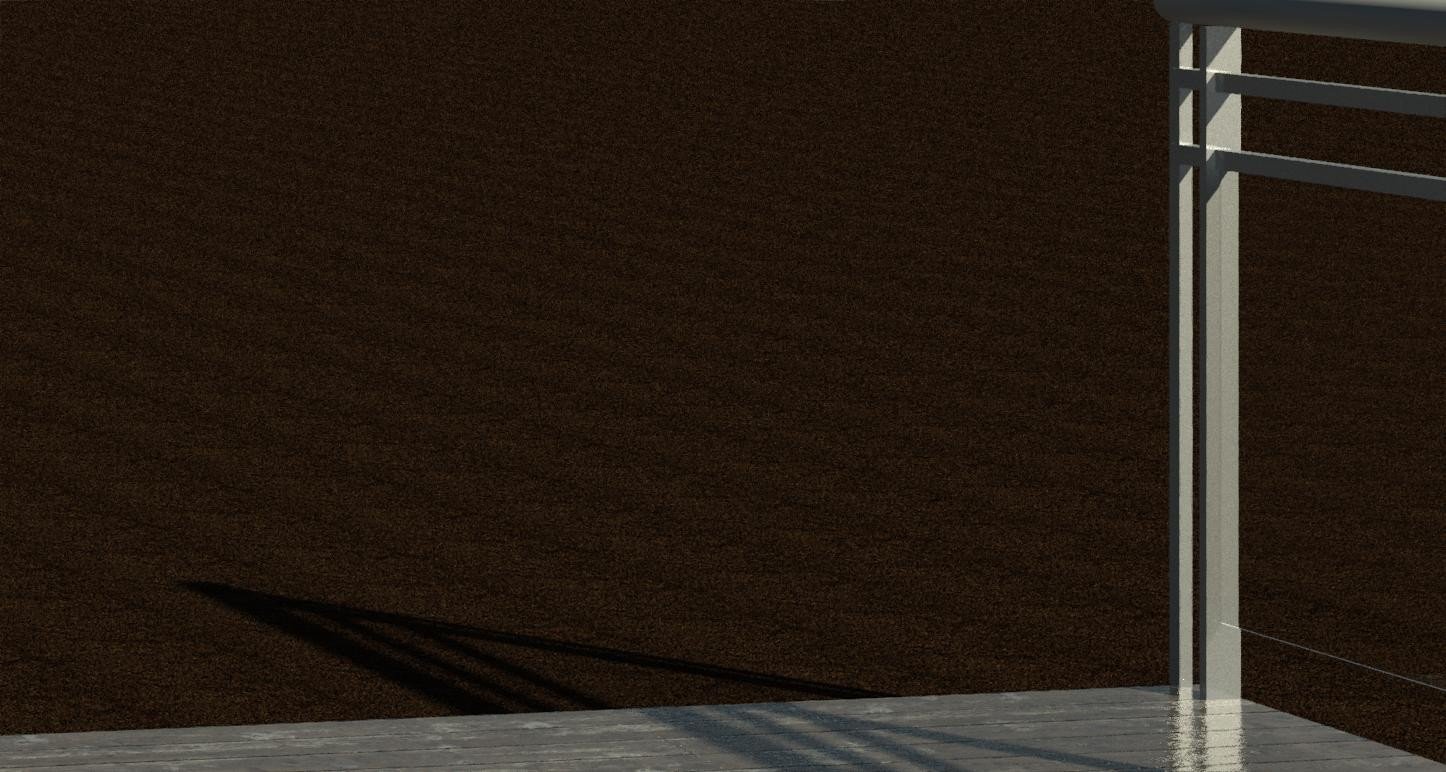
The rendering looks like this. Meh
Duplicate the material and rename, duplicate the asset and rename


Replace the material with the new photo

Figure out a sample size

The bump map can simply be the same photo and sample size (to start with)

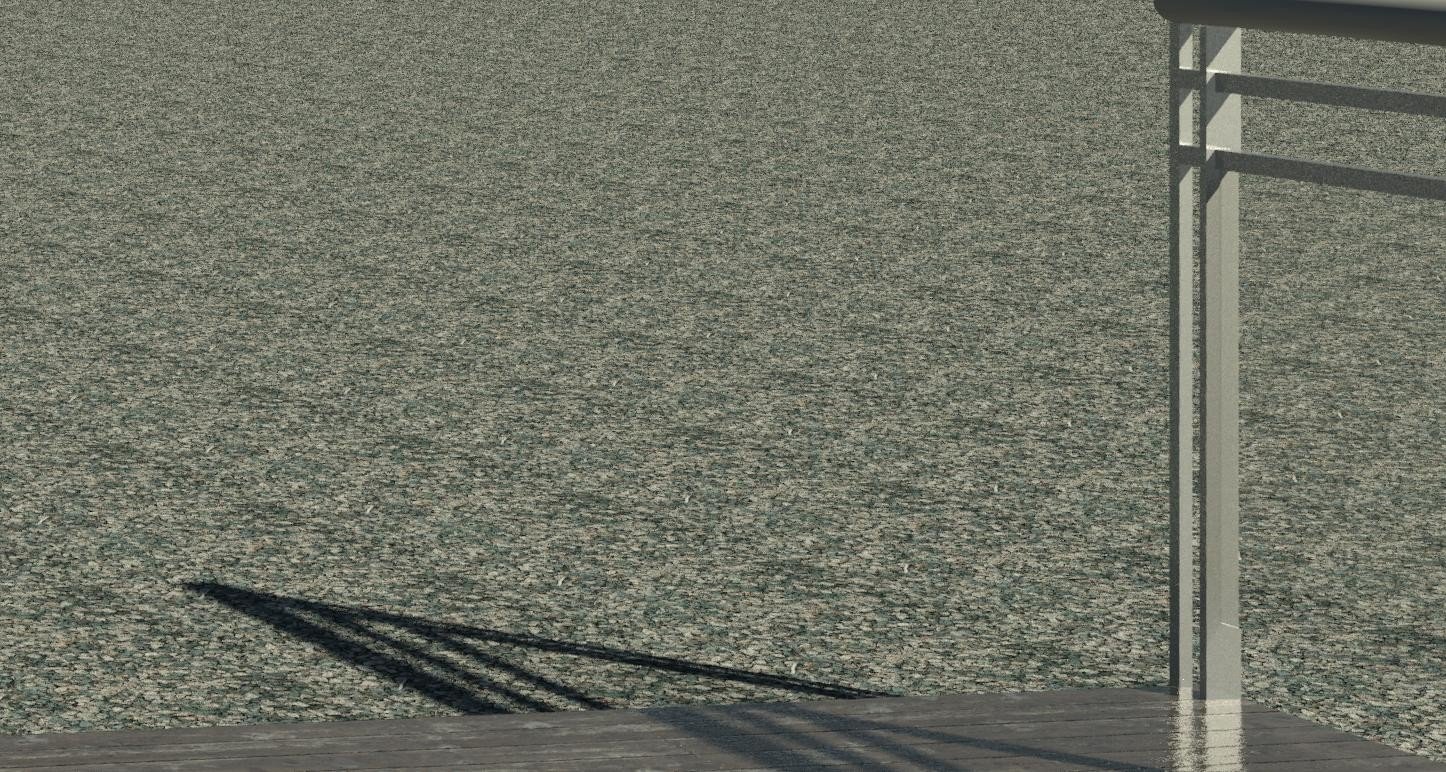
Rendering — it looks like a weird grid

Make Seamless Image
Go to https://www.imgonline.com.ua/eng/make-seamless-texture.php . There are other ways to do this, but that site makes it very easy.
Upload your photo

The site has several options. They can all be tried to get the desired effect.
This explains it somewhat:

Go with No. 4-A for this

Can check the result

The result
Save to “Site-Gravel-Seamless.jpg” in folder in Revit’s rendering path
Change the image paths in Revit

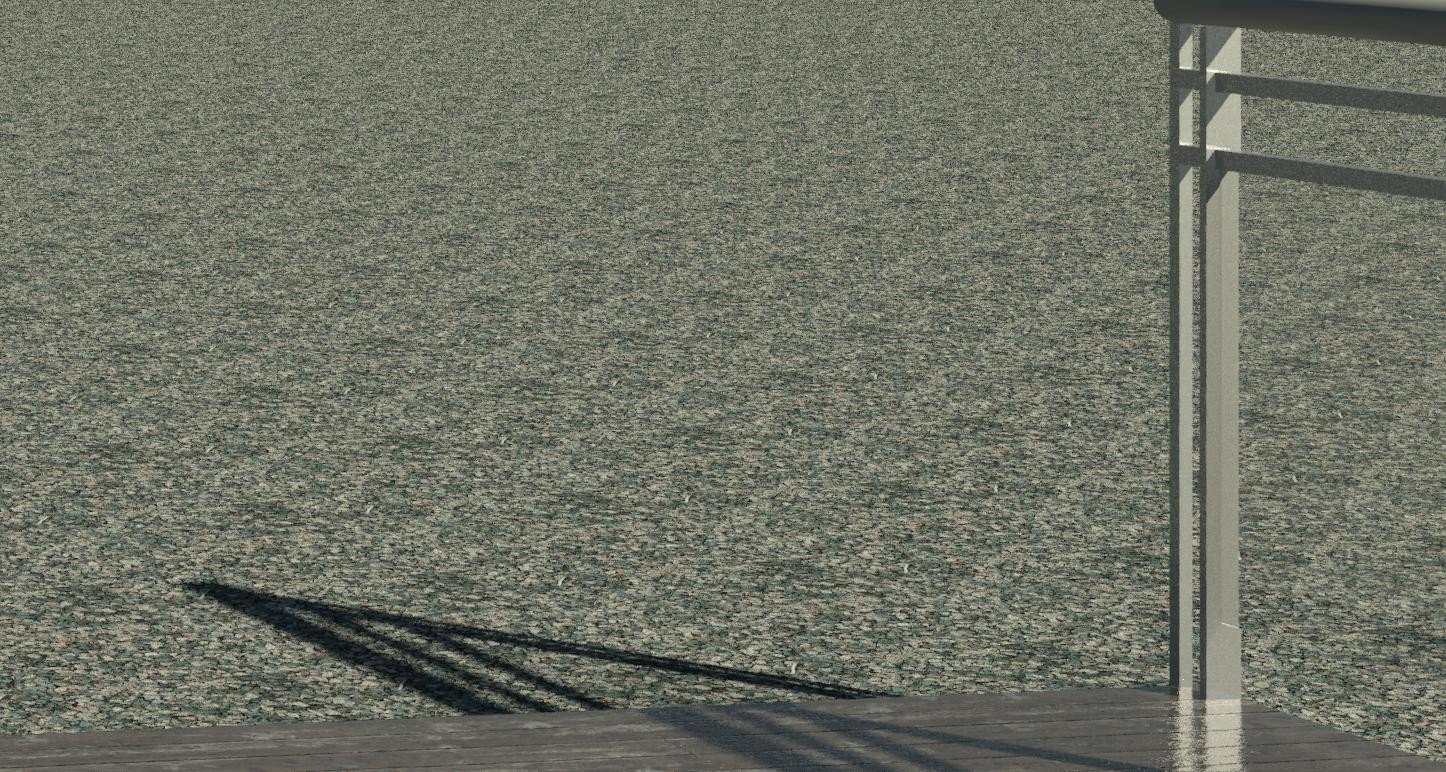
Rendering
How about double the image? Send the new image back up and apply the same processing to it.

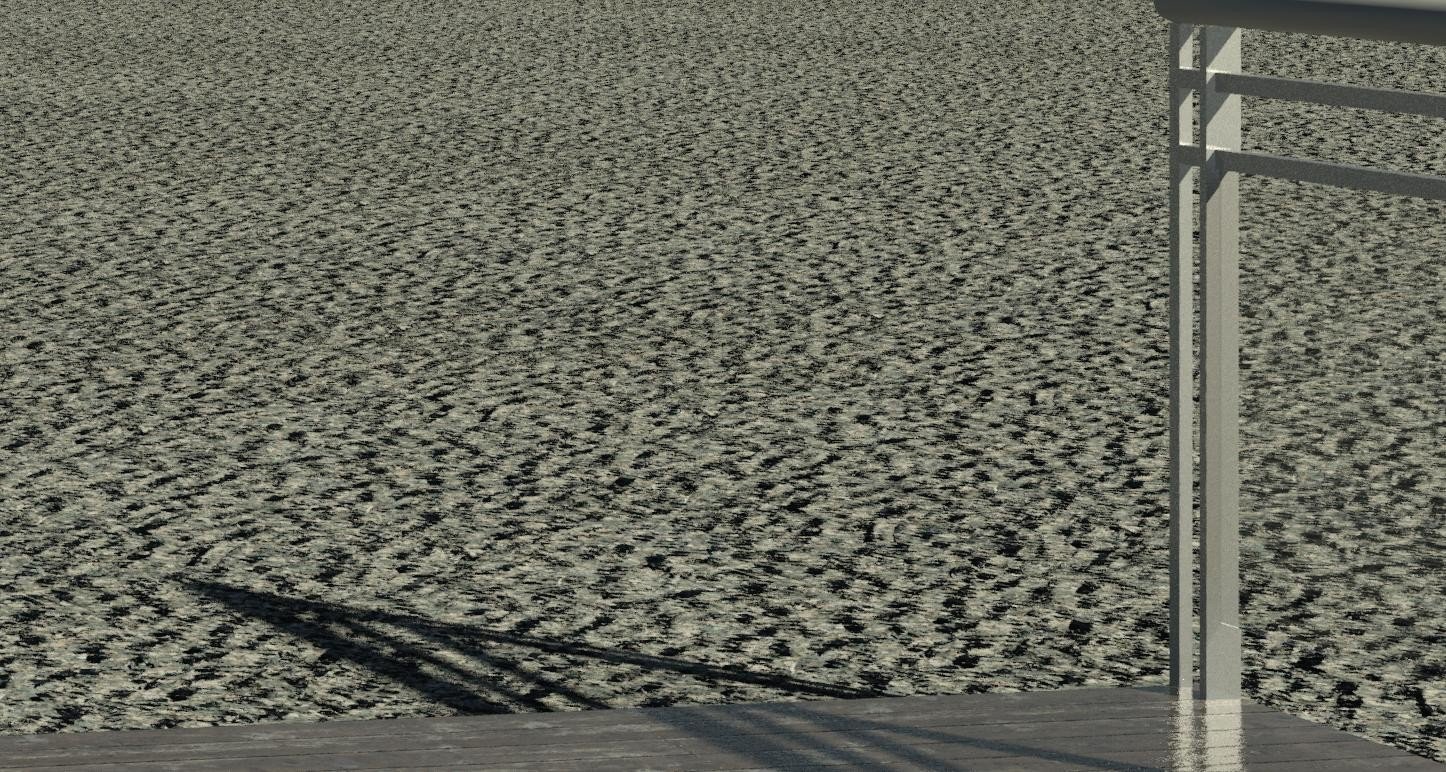
Rendering. It’s better, but still has some checkering. I suppose one could keep expanding the size of the image source to spread out that effect.
Make a bump image from the original image. Turn down the saturation, up the contrast, change gamma…

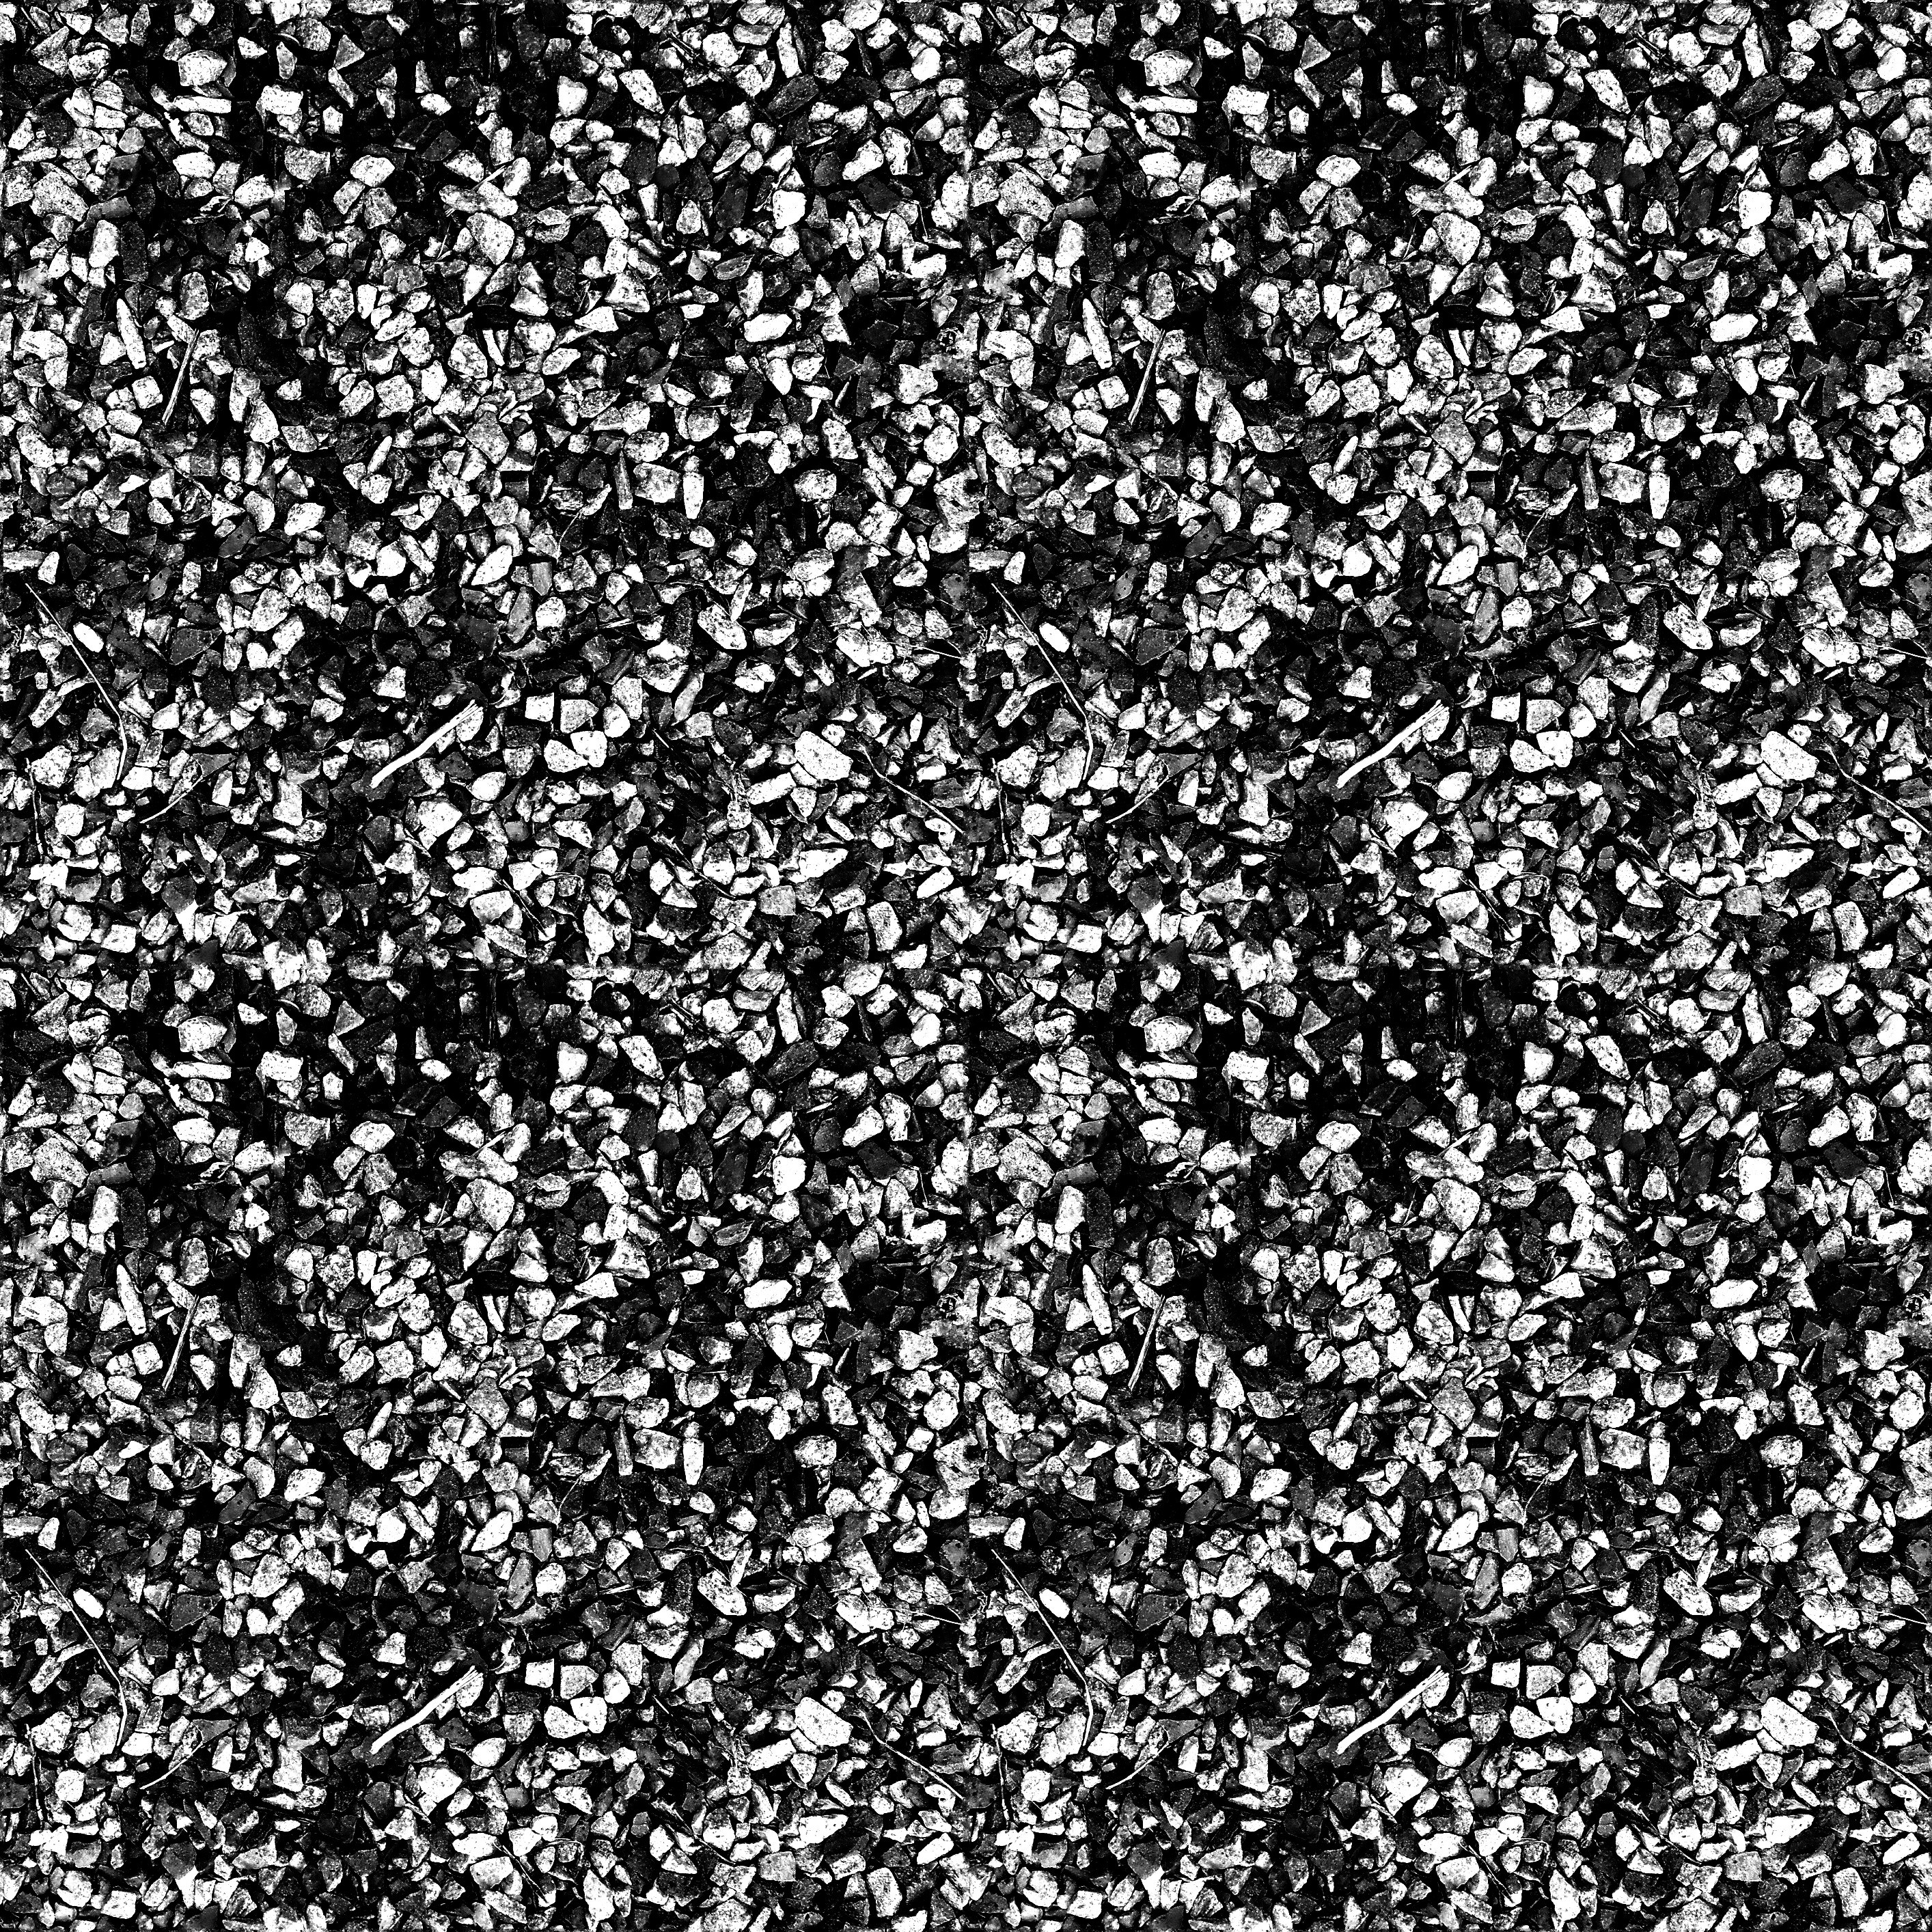
Apply to appearance at the same size as the other image…

Rendering
Super Fractal Bump Trick
There are myriad bump settings for applying fractal noise combined with images combined with fractal noise. These are the settings I messed with until I liked the rendered result:


These rotation parameters can be adjusted and previewed, but the values do not seem to stick in the dialog after it’s closed:

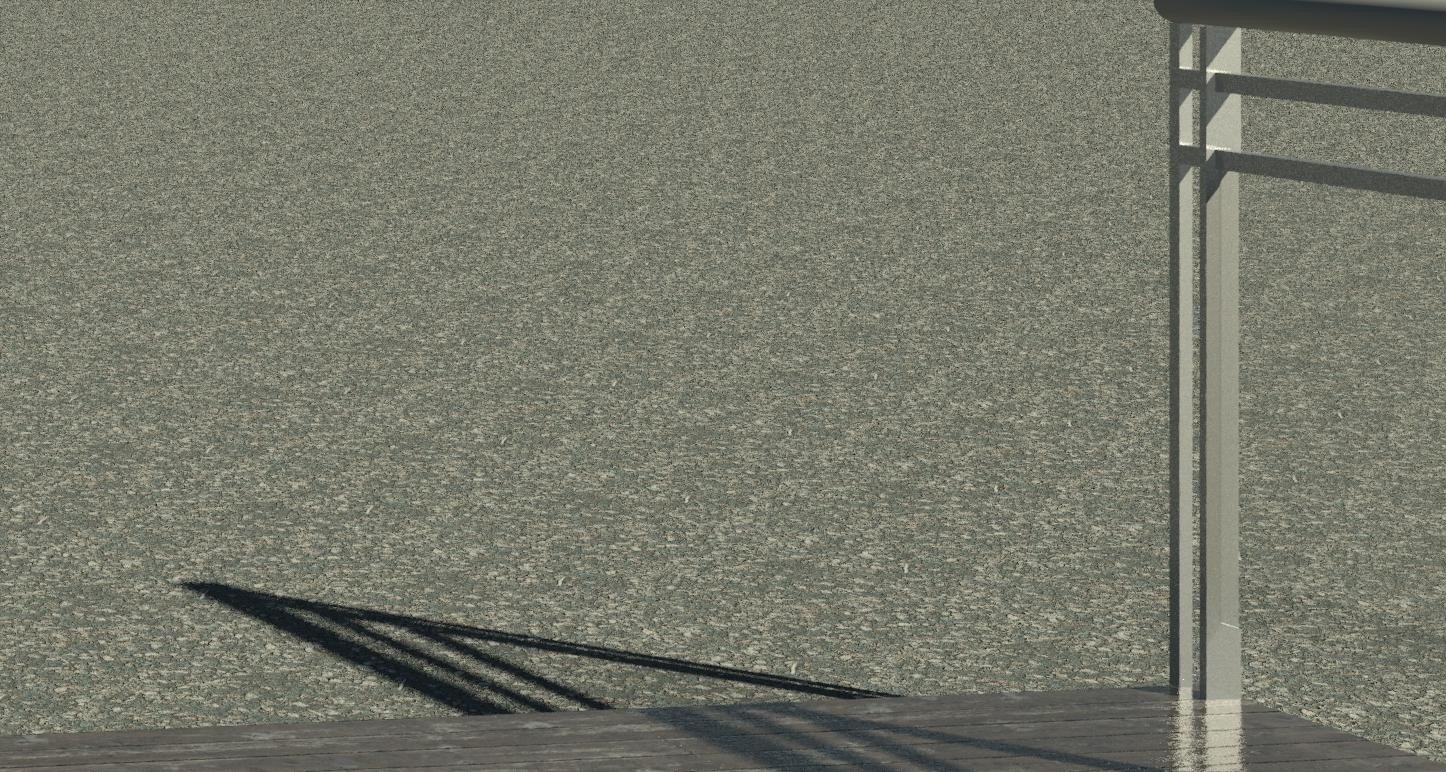
Hence we can overcome the tiling effect with the recursive bumps.
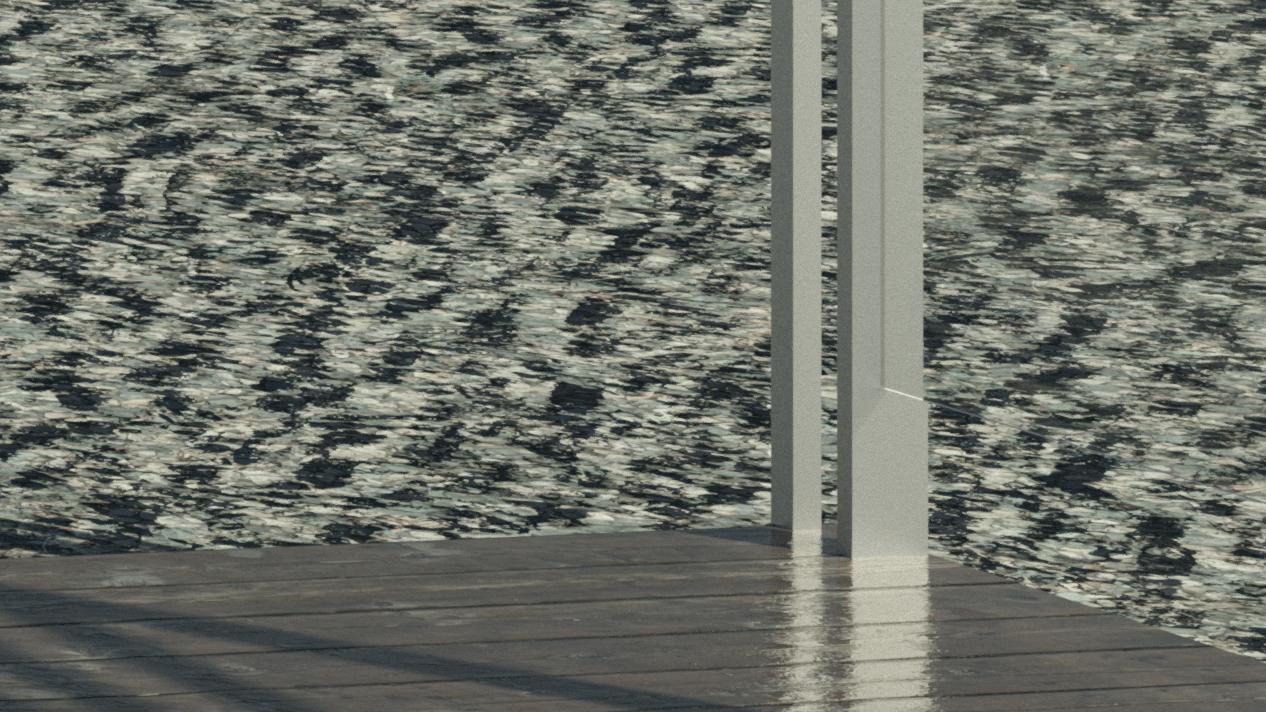
Final rendering