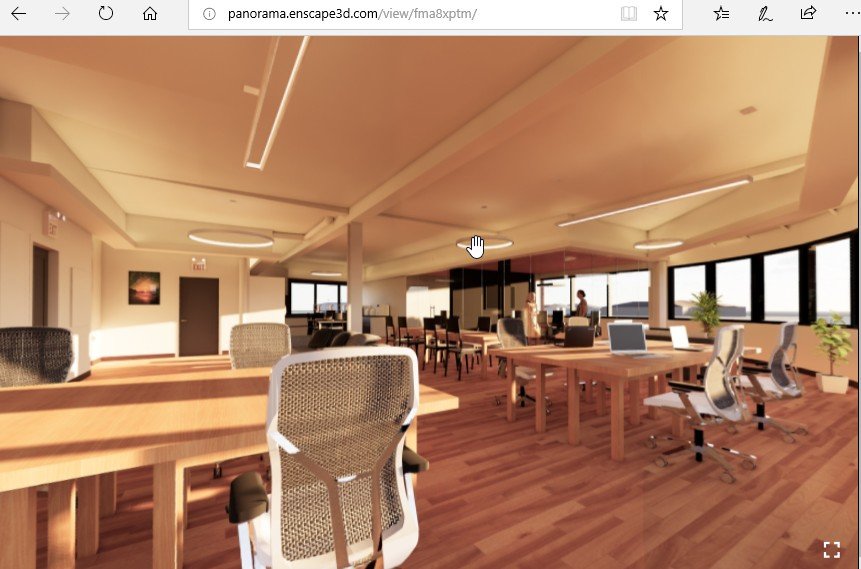
There are two easy ways of making rendered pano tours out of Revit. One is to use Autodesk’s cloud rendering service. That method is explained in my post at How To Make A Pano Tour From Revit. Another way is to use Enscape. Enscape is a real-time game engine addin for Revit that cost $47 per month in 2019. One of its features is making pano renderings. This post describes how to make the renderings, export them, then publish on a pano host. Roundme is gone. I use Kuula as a current host. Kuula does not work the same, and the upload/tour steps will differ from the historical Roundme walkthrough below.
On the Enscape toolbar, under Settings
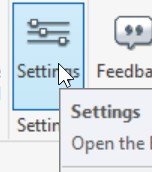
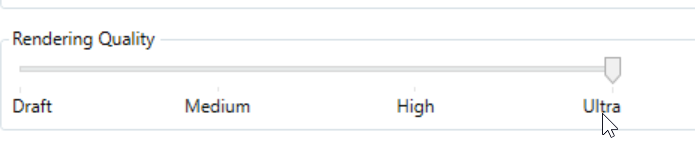
Set quality to Ultra
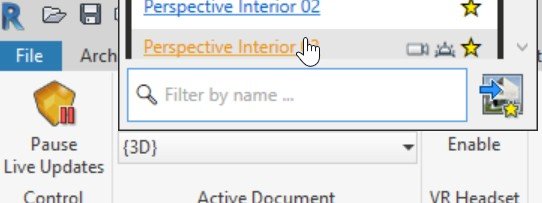
Start Enscape and choose a perspective view
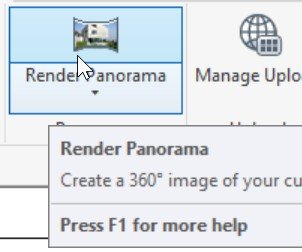
Click Render Panorama
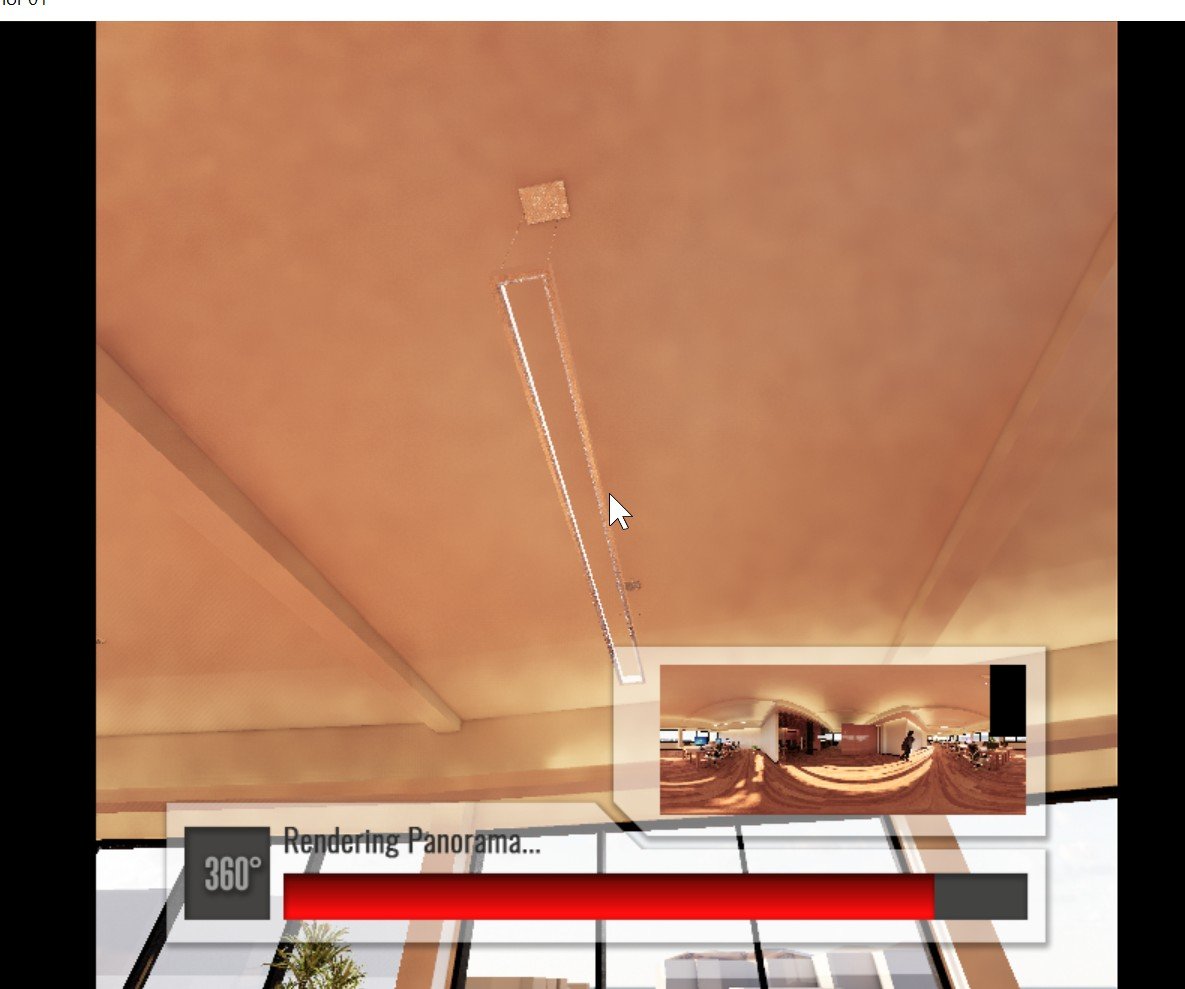
Repeat until all the views wanted are rendered
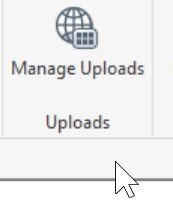
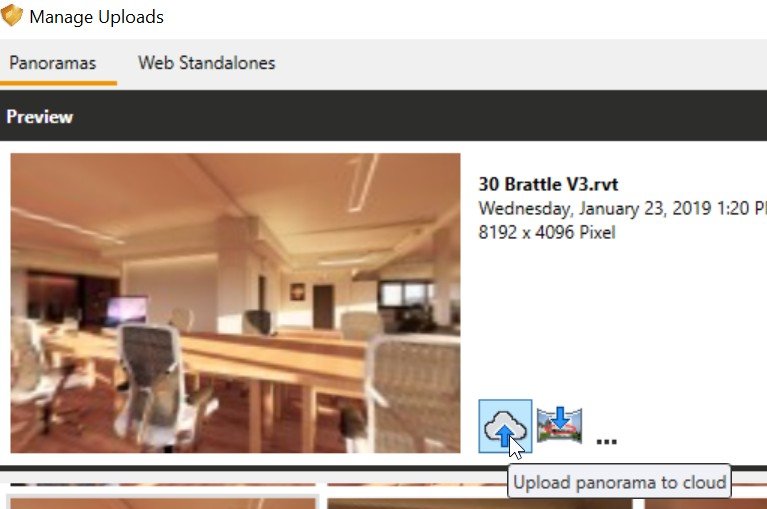
Click Manage Uploads
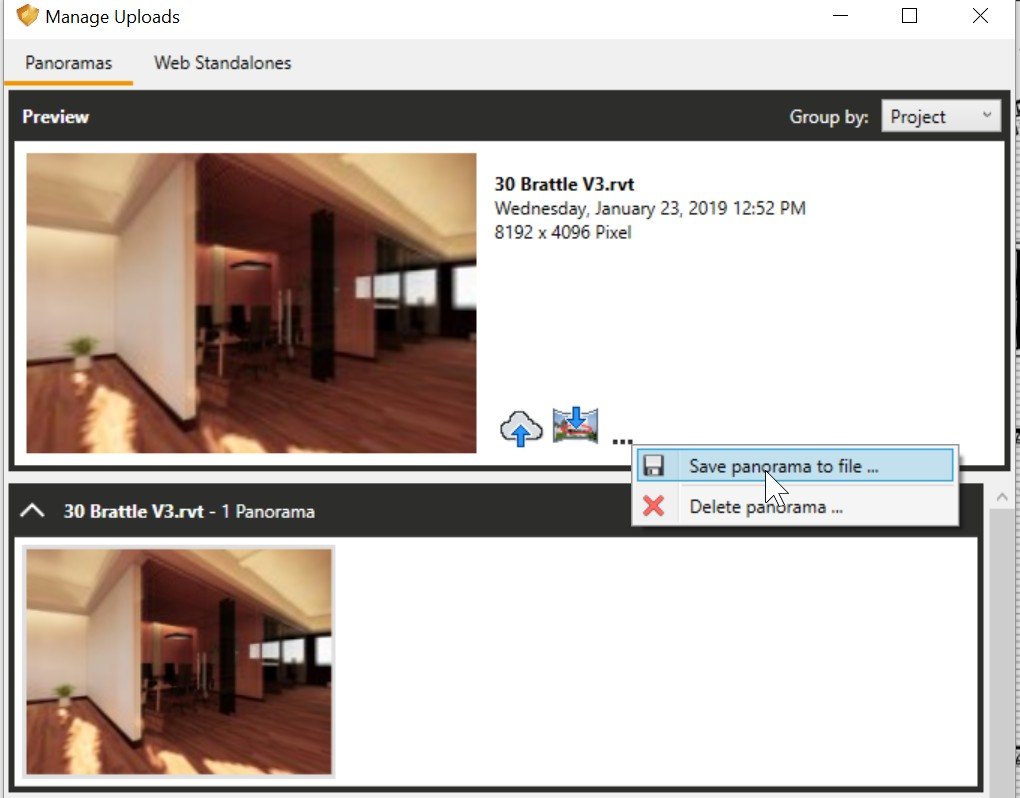
One-by-one, select each rendering and click the … and save them to a file (Enscape say they may add batch functionality for panos in the future. It already has it for stills.)
Once all the images are saved to a folder, upload them to a pano host. Roundme is gone. Kuula is a current alternative, but the steps will differ from the 2018 Roundme walkthrough in How To Make A Pano Tour From Revit.
Historical Roundme UI.

Example Tour
Made with Enscape renderings: https://kuula.co/post/N1R9h
Single Quick Pano on Web
Alternatively, if you just want to throw a single pano up that you can look around with on a mobile browser, just click ‘Upload panorama to cloud’ and Enscape will host the image.
Example: http://panorama.enscape3d.com/view/fma8xptm/