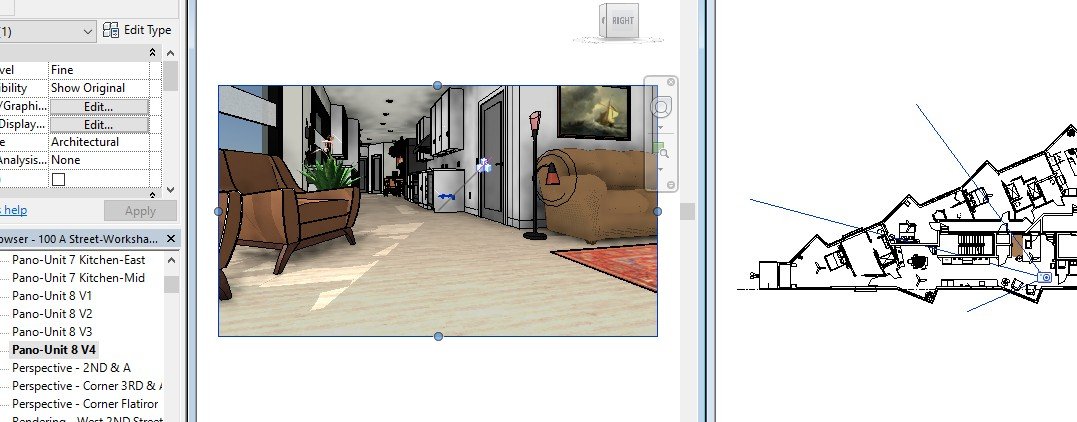
Make Camera View from where the center of the spherical rendering will be. I recommend 4 feet from floor for interiors.
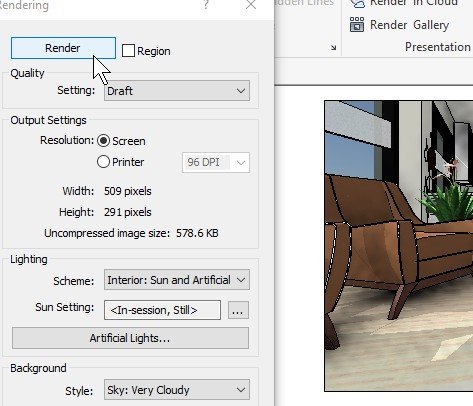
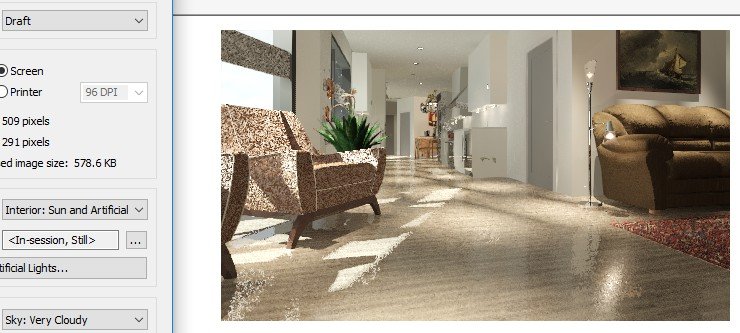
Test render, confirming lighting, materials, and exposure are correct. Up to Revit 2018, render settings Lighting & Background must be set for each new view, even if it was copied from another view.
Select border of View, switch to a plan View and Copy Camera View to the next position
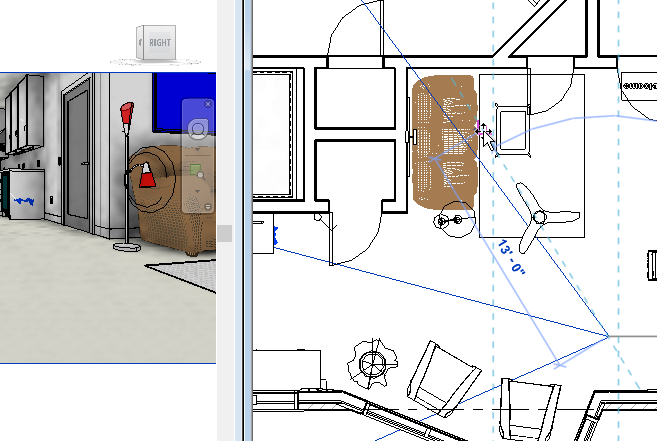
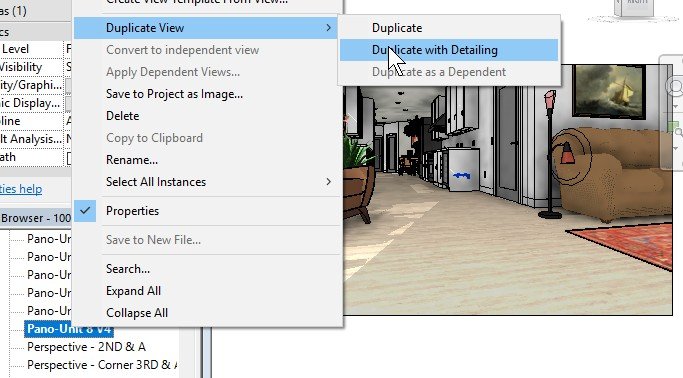
(or Duplicate Camera View and Move)
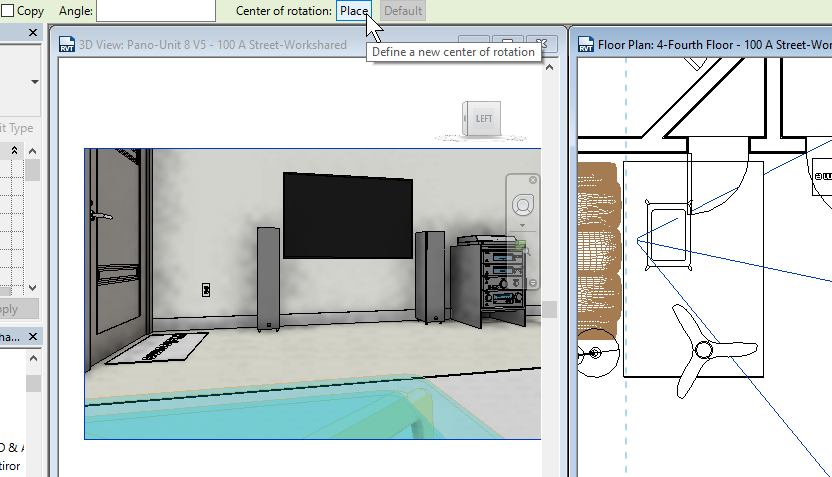
Rotate, placing Center where the camera is
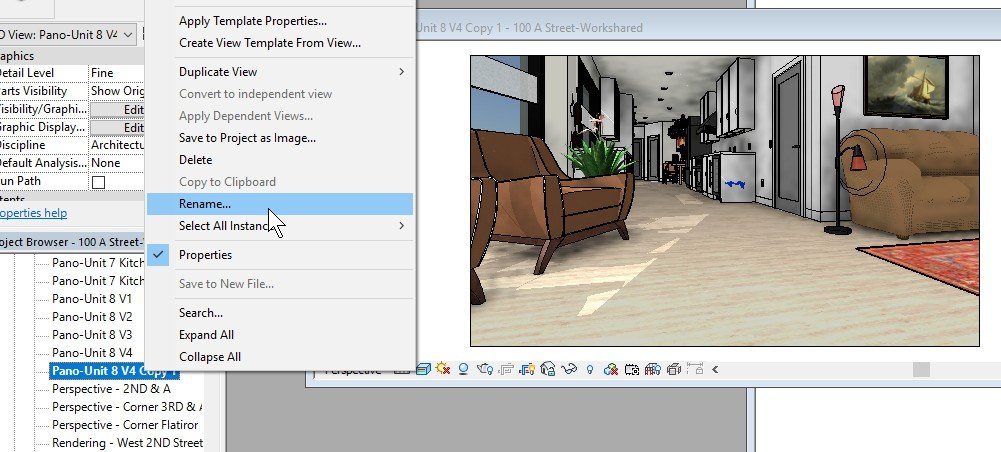
Rename View(s) as appropriate if needed
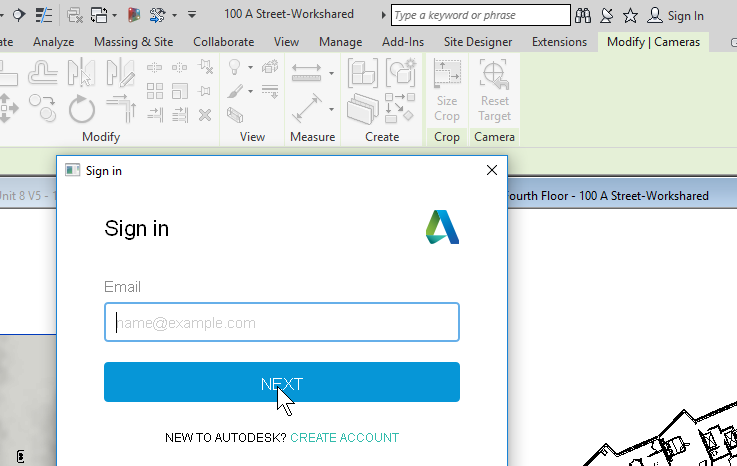
Sign into an Autodesk account from Revit
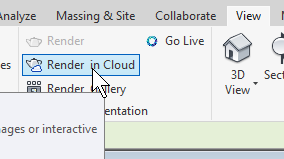
In the View tab, do Render in Cloud
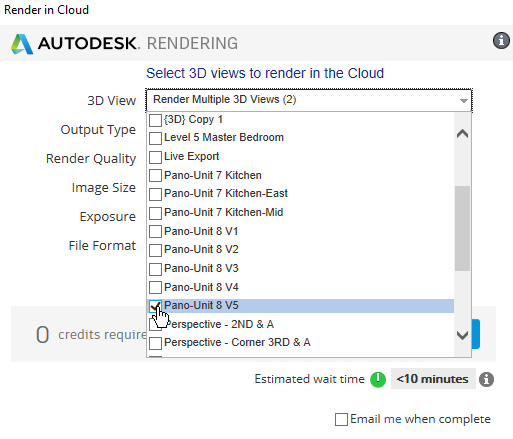
Select views to render as Panorama
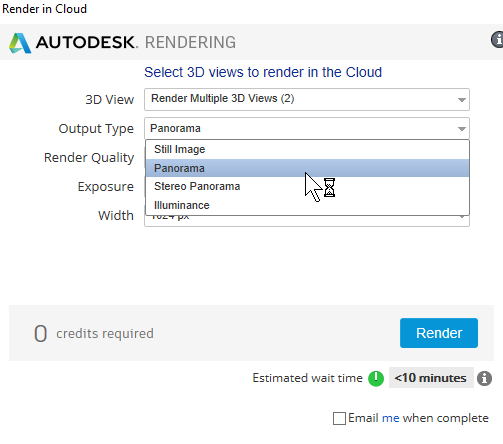
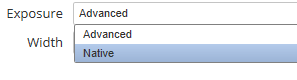
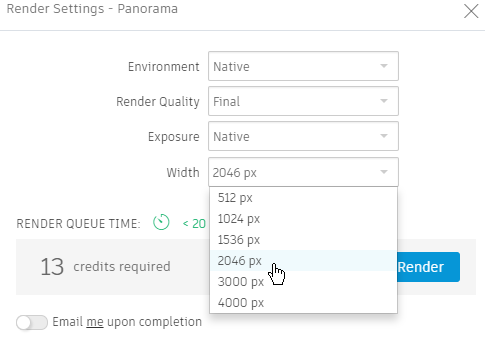
Exposure= Native
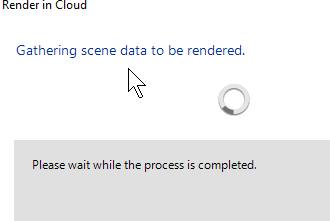
Wait, but don’t leave your computer, yet!
If there are any unreferenced rendering texture images, it will wait for you to hit OK forever with this less-than-useful dialog
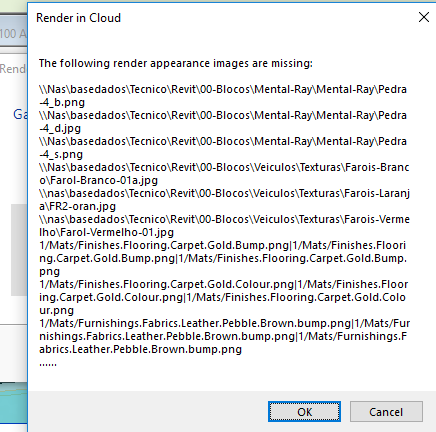
Caveat: I suspect that custom rendering texture image files must be named without dots, commas, ampersands, or other non-standard characters in their filenames. They may not be uploaded if that is the case.
Wait
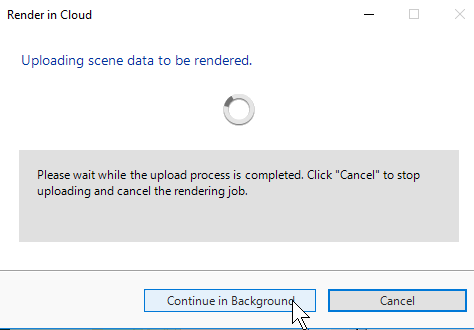
Go to your Render Gallery
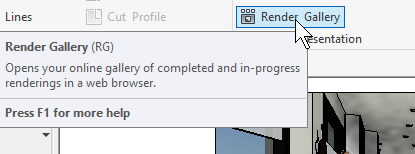
It is clever that the rendering can be seen in-progress through the website. Cancel Rendering if needed.
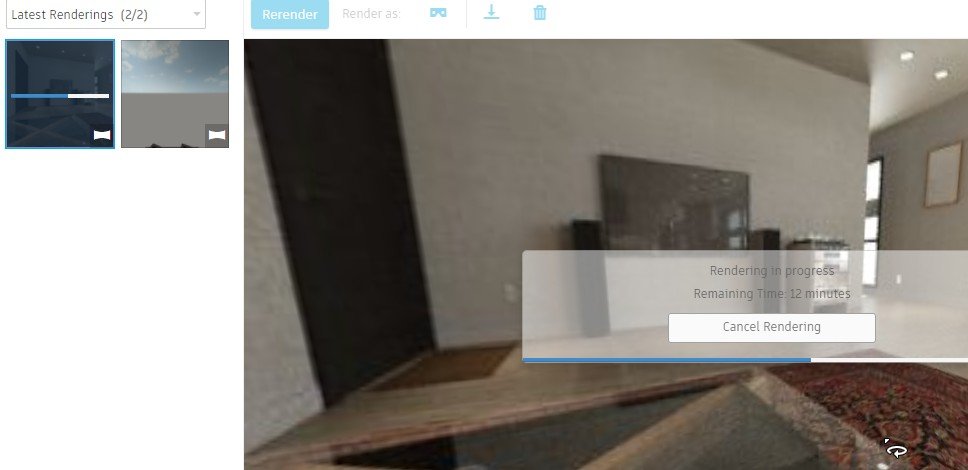
Confirm that the rendering is proper with the 0-credit version, then choose higher-quality settings. Autodesk Cloud Credits are retired. Buy Flex tokens if you need paid cloud rendering. Autodesk documents the Cloud Credits retirement. Render Quality Final, Width 1024 px is adequate for phone pano viewers.
When completed, download as Equirectangular
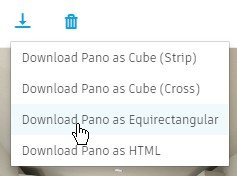
Make a folder for each rendering and Extract image.jpg from the Zip.
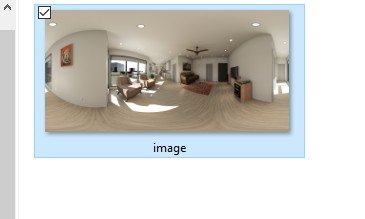
Publishing
Roundme had a generous free tier and made publishing panos easy. But it no longer exists. Kuula is a current alternative. It does not work the same, and the upload/tour steps will differ. Example: https://kuula.co/post/N1R9h
Historical (2018 Roundme). The screenshots and click-path below are how Roundme worked then. Do not treat them as current software.
Historical Roundme UI, 2018. Log in and click CREATE TOUR
Historical Roundme UI, 2018.
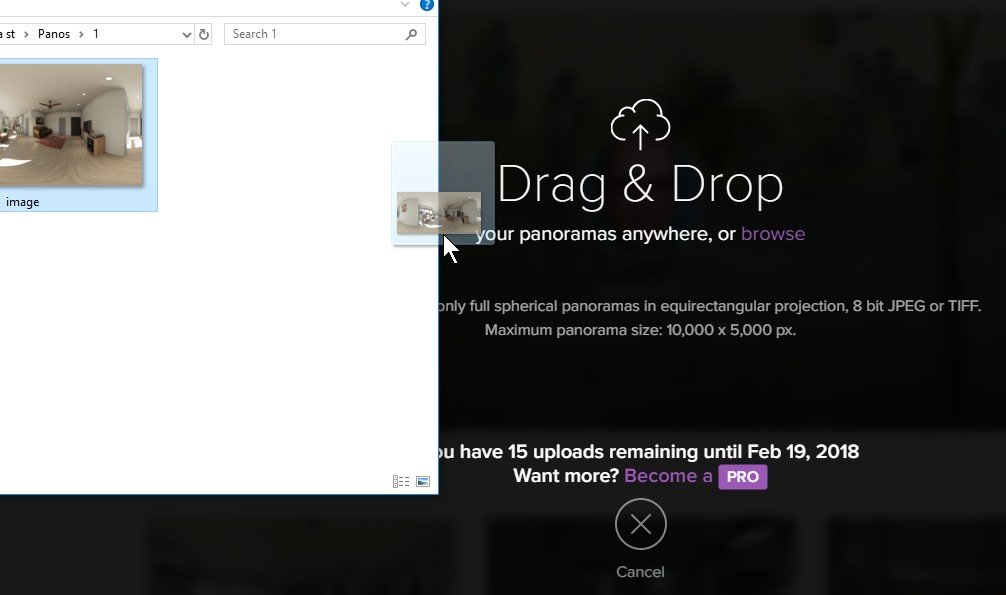
Historical Roundme UI, 2018.
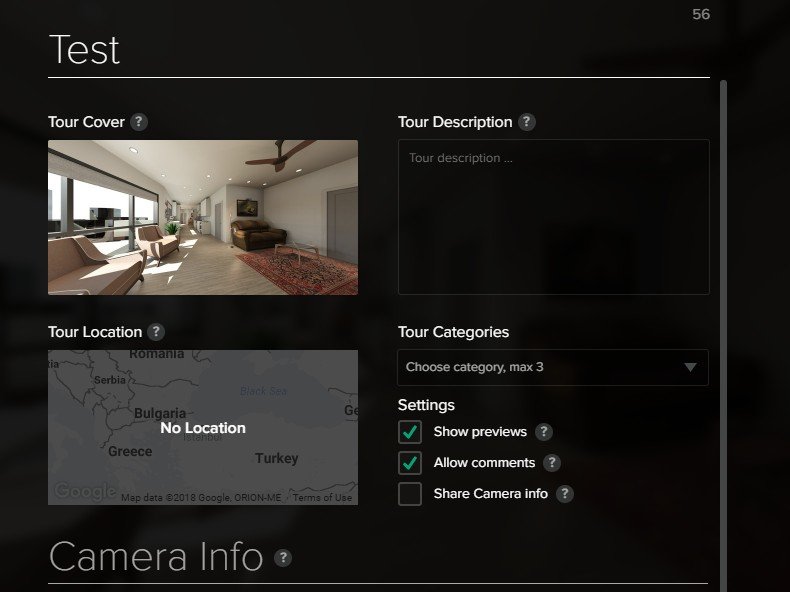
Drag and drop more equirectangular images
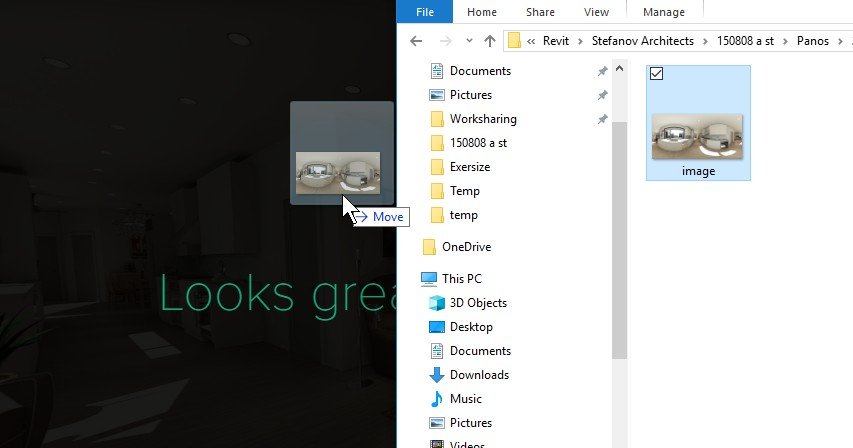
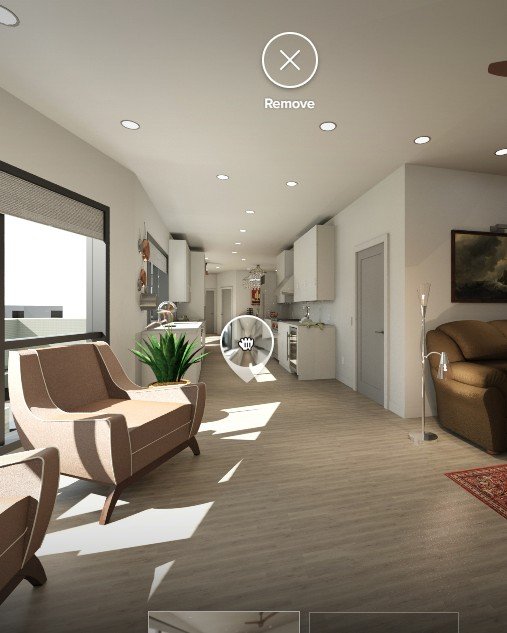
In Roundme, drag an image from one of the thumbnails into another scene and place the hotspot
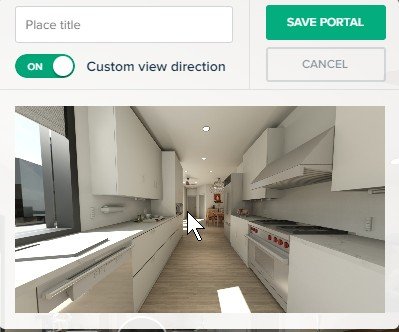
Set Custom view direction that makes sense as if the viewer has moved position
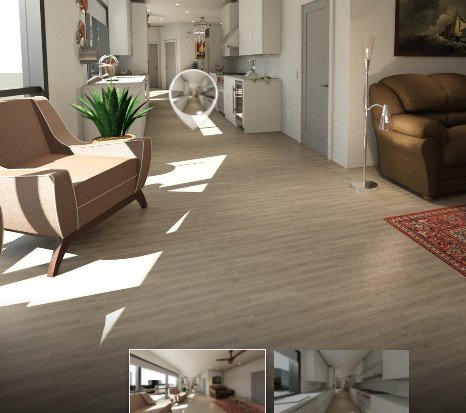
It will look like this
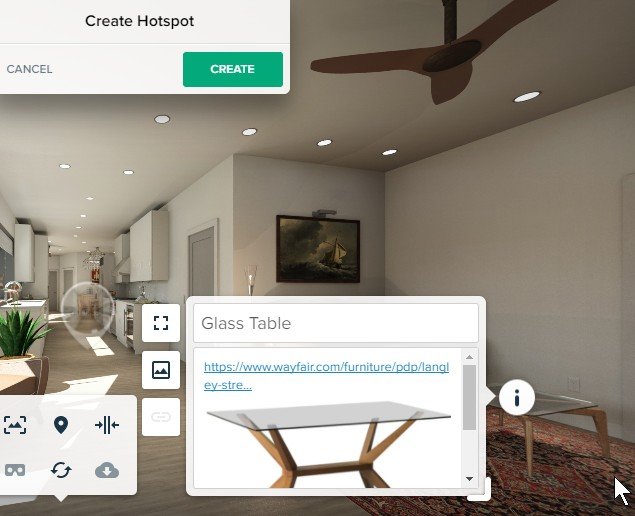
Info hotspots are also easy to make. Drag the i icon onto the scene and fill in the form
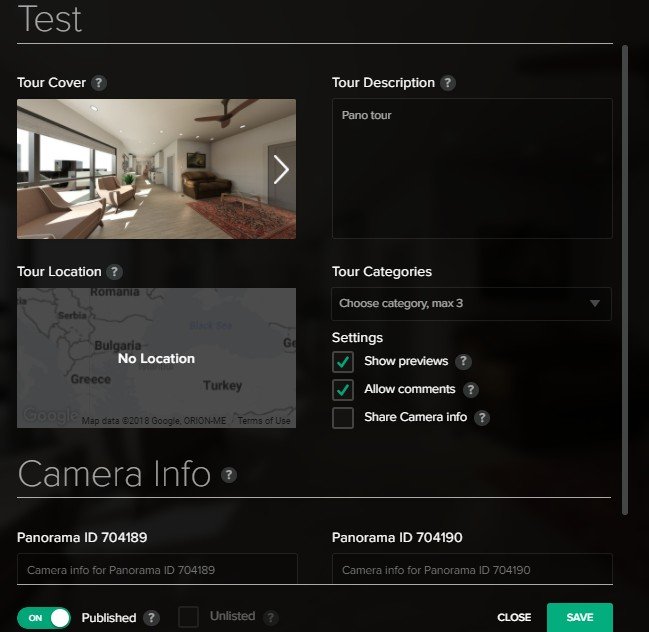
When ready, turn on Published and SAVE