
I made a photogrammetry mesh of a building facade in the free version of Recap 360 from about 50 images. Recap 360 is gone. Current Autodesk photogrammetry/scan product is ReCap. It came out really well, even though all of the photos were taken from ground level.
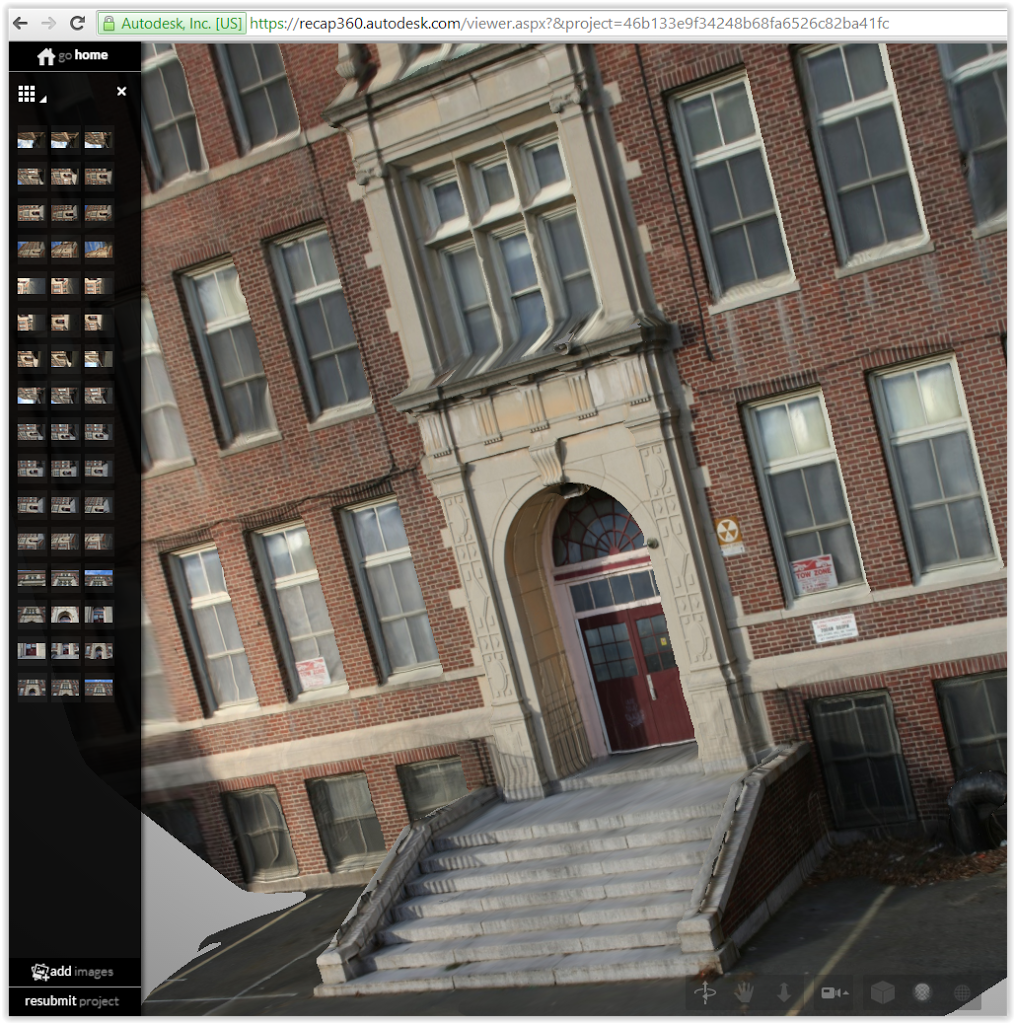
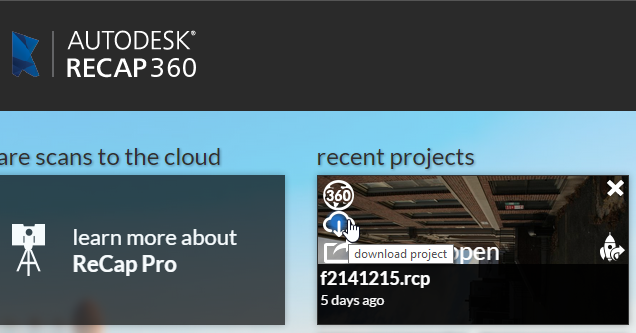
From there, I downloaded the files as a ZIP, which contains the mesh as OBJ. Its “materials” are also included, but using them is another issue.
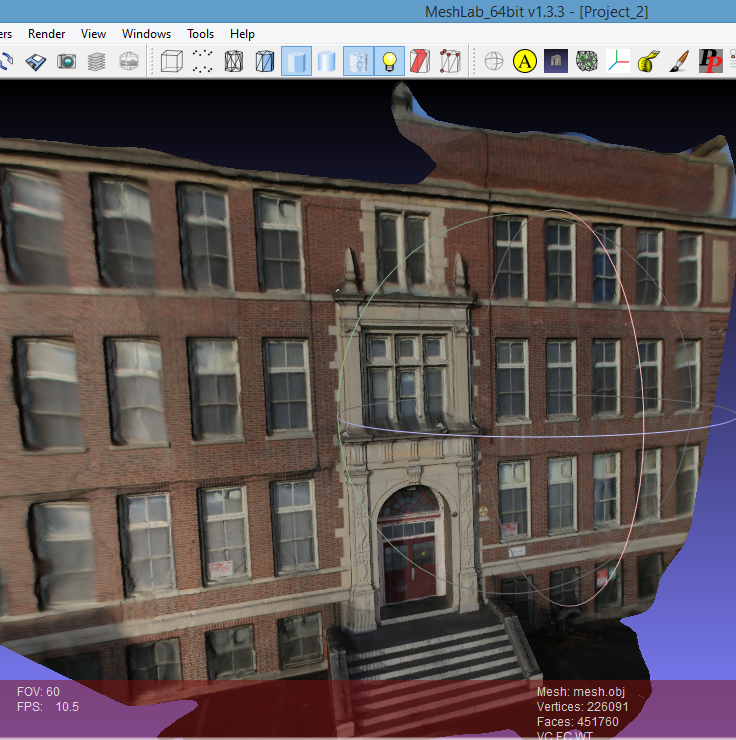
I opened the mesh in the open-source MeshLab. It looks very good.
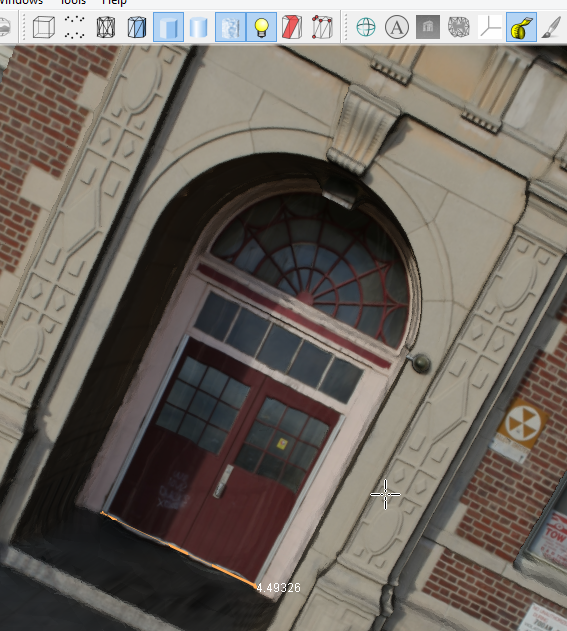
The big challenge is to get it to the proper scale. A known distance on the building is required. I assumed that the double doors are 6 feet wide.
From the mesh, using the Measuring Tool in MeshLab, it read 4.493.
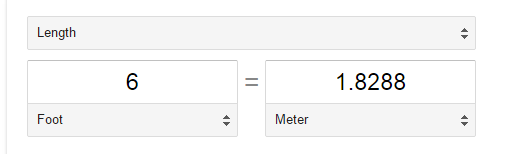
6 feet equals 1.83 meters
I calculated 1.83 ÷ 4.493 = 0.407 (remembering that number).
I export from MeshLab as format XYZ. I believe that MeshLab writes a line in the file for each vertex point in mesh.
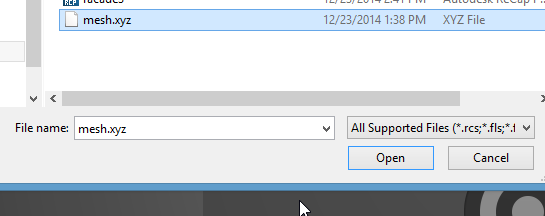
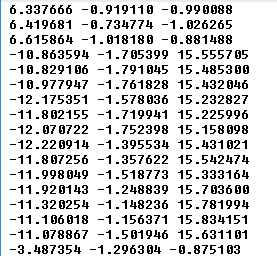
Thence, I started a new project in ReCap and chose the XYZ file.
How did I get the points scaled correctly?
ReCap’s units are meters. Under the scan settings, I changed “Unit: 1 Meter” to 0.407.
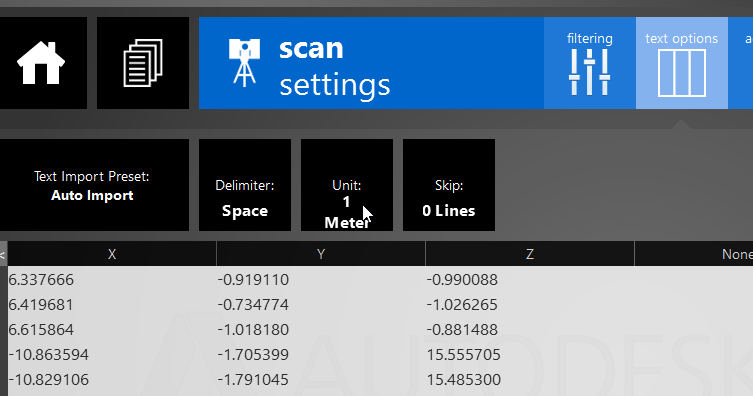
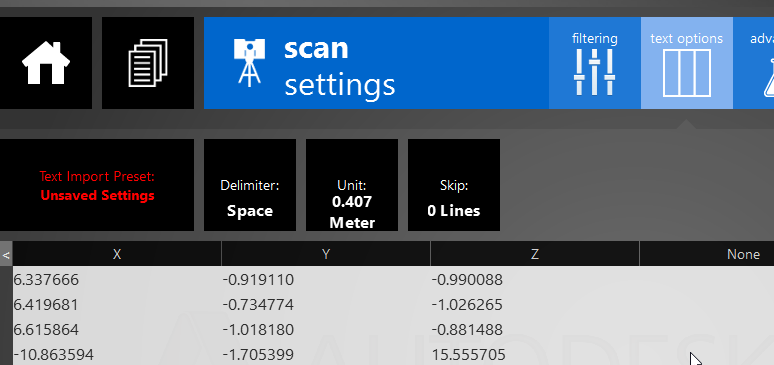
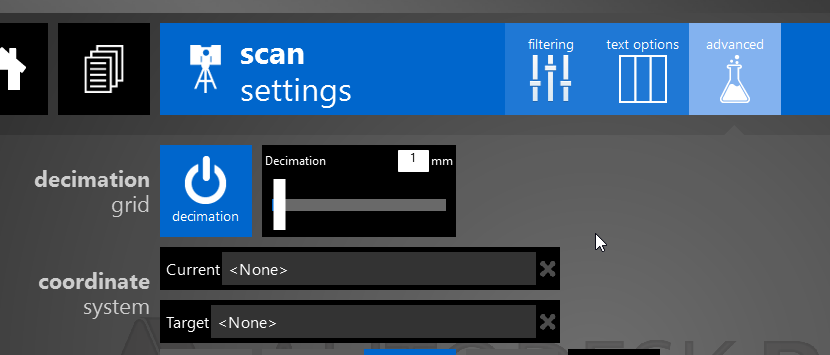
I also reduced the decimation to 1mm.
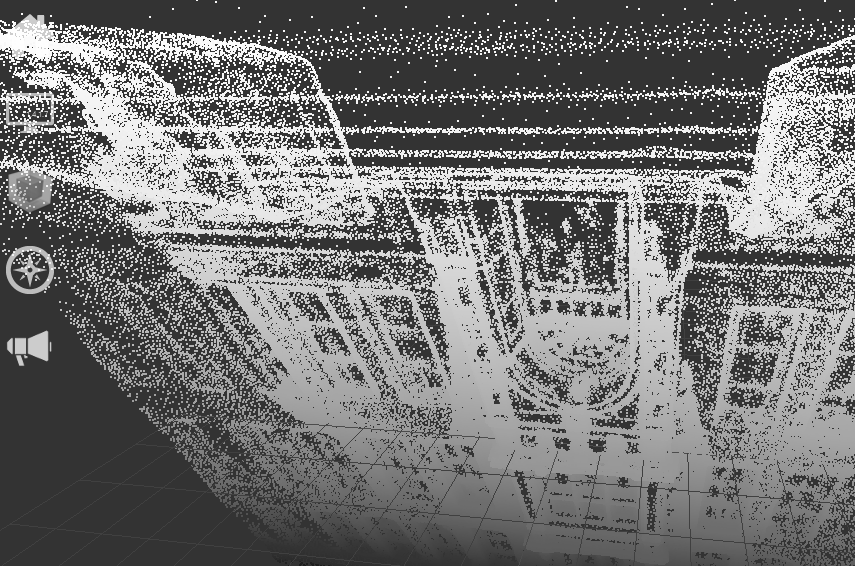
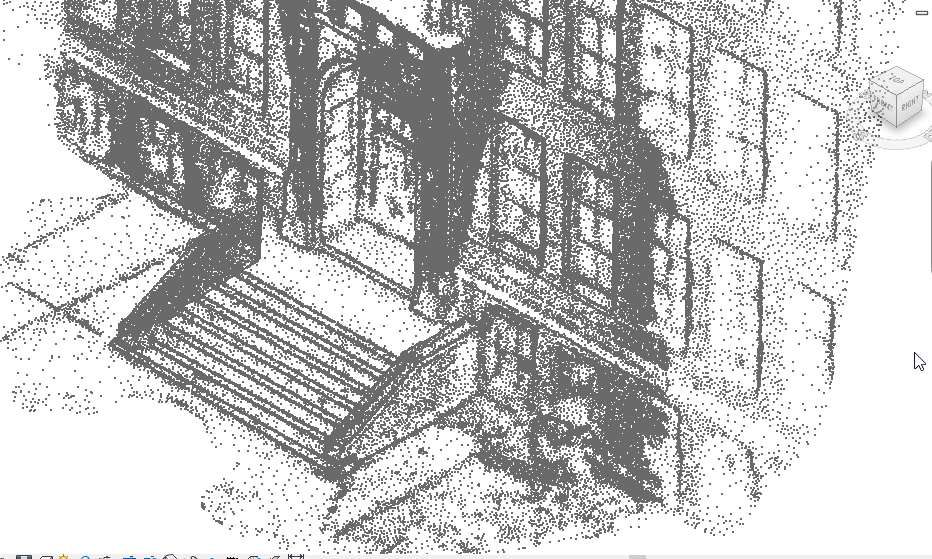
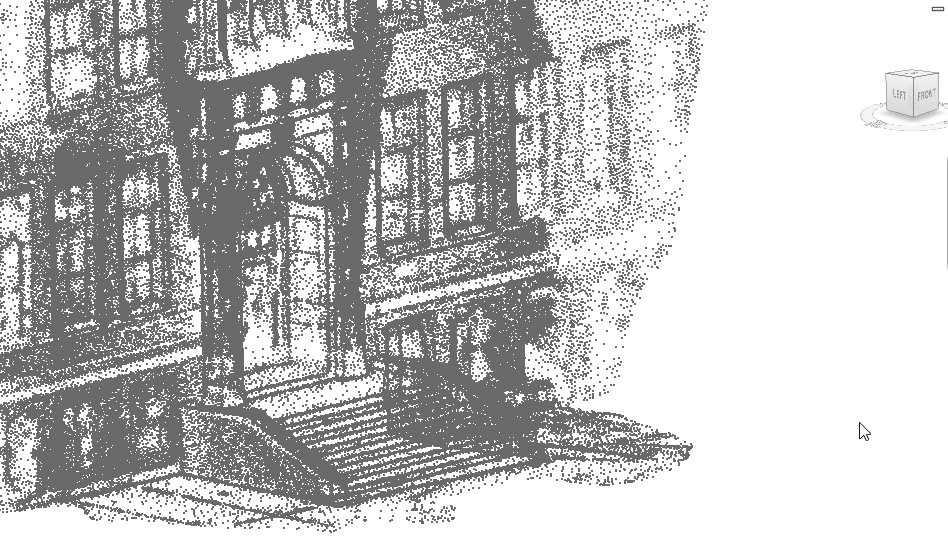
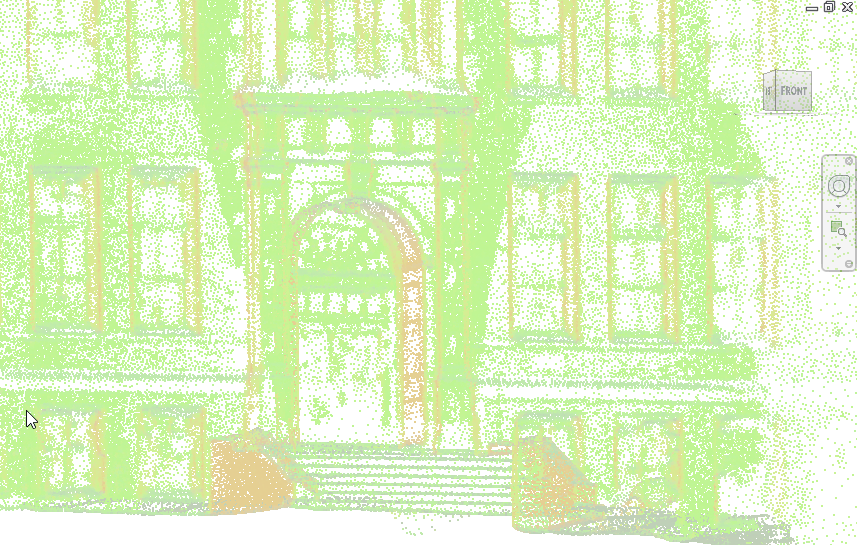
The points came into ReCap.
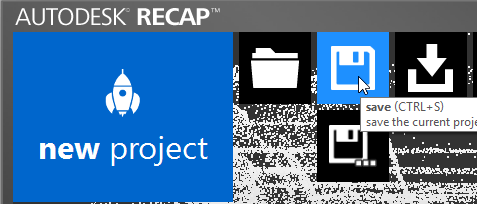
I saved the RCP file to bring into Revit.
I imported the RCP into Revit, center-to-center.
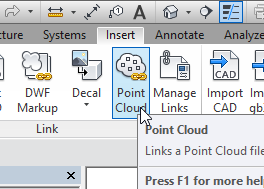
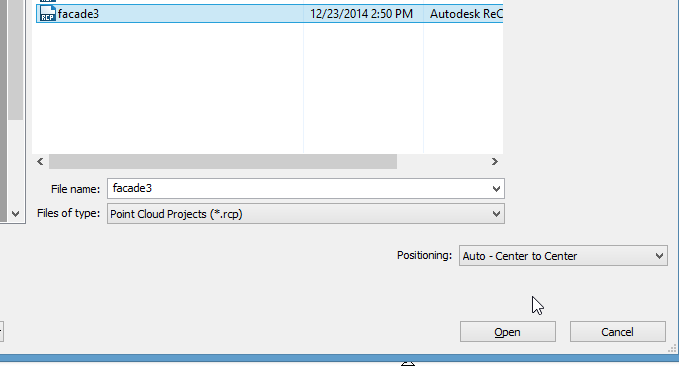
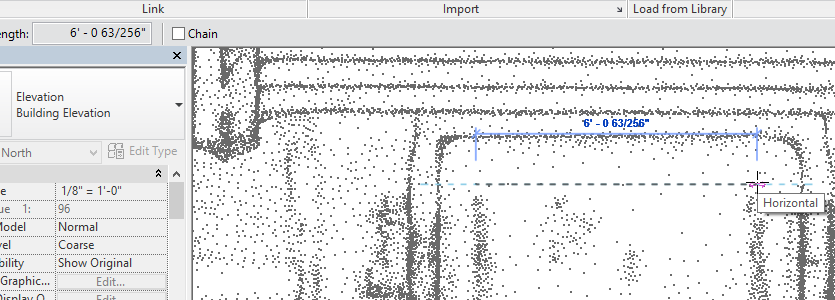
Using Measure Between Two References in Revit, I found the point cloud’s size to be correct.
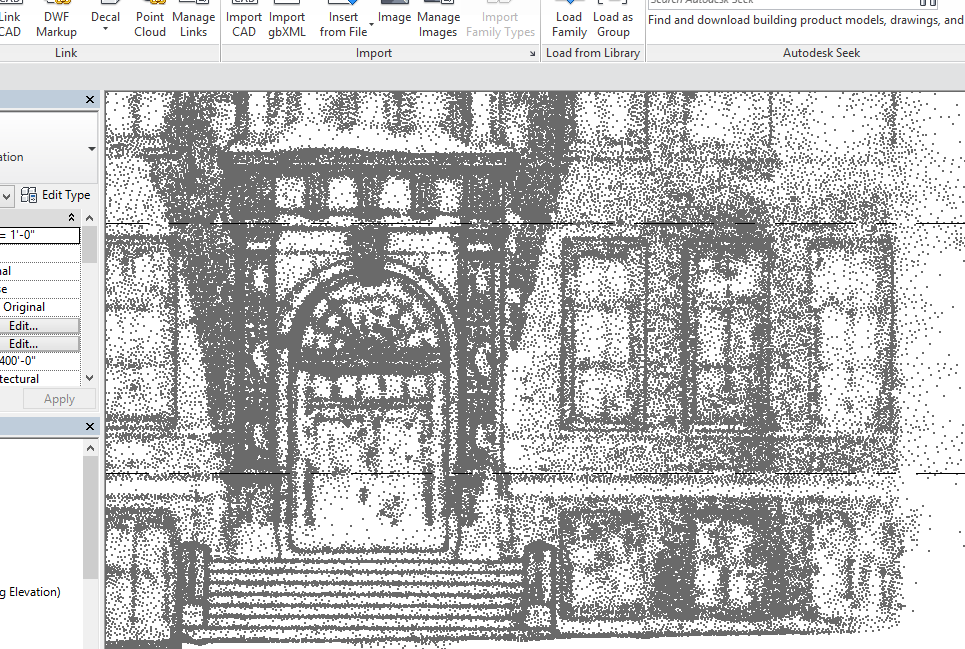
I then had to rotate, and move, the point cloud. Now, it’s ready to trace.
PS: An alternative method would be to scale the mesh in MeshLab to meters before exporting the XYZ file. The concept is explained in this video: https://www.youtube.com/watch?v=6psAppbOOXM . That way, the scale would not have to be altered in ReCap.